Master The 20% Of Lightroom Classic That Will Actually Get You Results
And Stop Wasting Time On The Other 80% That Gives You Little To No Benefit...
- Do you feel like you might not be getting the full benefit of Lightrooms Best and MOST POWERFUL features?
- Do you want to go beyond the usual "user manual" style tutorials you've seen elsewhere (you know, the ones that just point out the obvious stuff?)
- Do you want to finally master the 20% of Lightrooms features that give you 80% (and more) of the benefits and results? (I'd argue 100% of the results that MATTER)
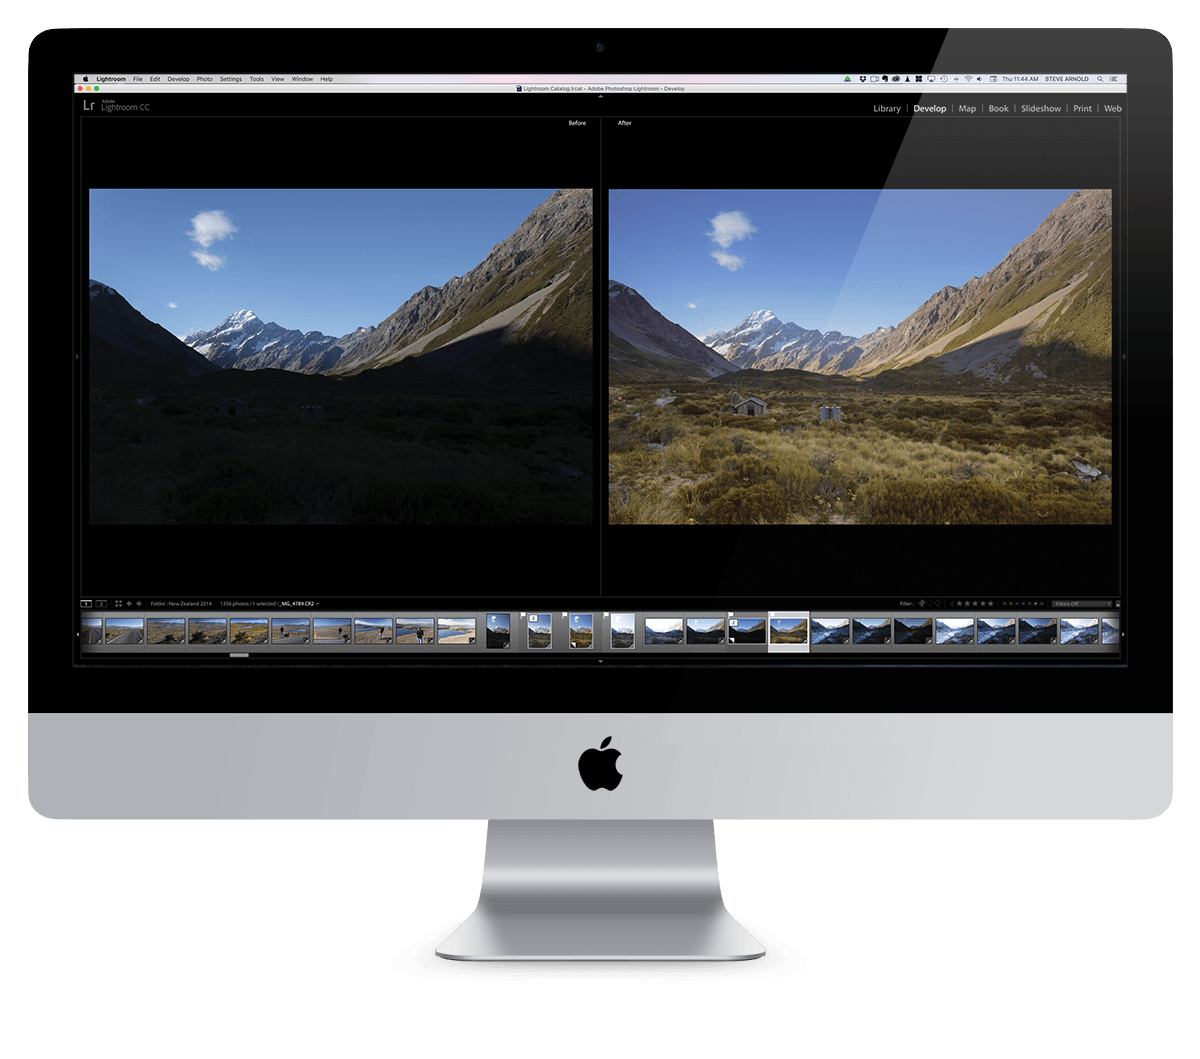
Hi, I'm Steve Arnold. Lightroom has been a critical piece in my workflow for many years and now I'm revealing how you can get the most out of it too.

Lightroom is REALLY powerful!
I've been using Lightroom in my workflow since all the way back in version 2. It's an awesome tool!
And year on year Adobe are releasing new and improved features to make it even better. But that does come at a cost... It's now such a feature-packed application that it seems like there's always something new to figure out!
How many of Lightrooms most powerful features are you really using?
And how much of it has simply passed you by because you didn't even know to look for it?
Have you ever felt like you might be missing something when it comes to using Lightroom? Or that you might not be getting the full benefit out of it's best and most powerful features?
The truth is that Lightroom is really (really) good at a lot of things, from file organisation to image processing, but so much is tucked away in hard-to-reach places that it can be EASY to miss!
And it can seem overwhelming...
Let's address the elephant in the room here... Lightroom can do SO much that when you're new to it, it can be very overwhelming.
Even if you've been using it for a long time, I bet there's still some really useful stuff hidden away that you've just not discovered yet!
The good news is that I've boiled it down to the most important and effective bits that you need to know in order to get the most bang for your buck out of Lightroom without feeling lost or overwhelmed at all the possible options that are available.
Here's the thing...
There are a lot of things in Lightroom
that you DON'T need to worry about!
I've spent years experimenting and learning the ins and outs of all of Lightrooms features and it's taken a long time to discover which bit's are most useful and which are just clutter...
And now I'm sharing these discoveries with you...
Hint: There are 7 modules in Lightroom, I've only ever used 2 of them! - There's Library, Develop, Map, Book, Slideshow, Print and Web... Guess which 5 I've never used in practice? And of the two that I do use, there's still a LOT that's been unnecessary to my workflow. Now I'm helping you cut the clutter too!
But how do you know which parts to spend your time on?
Most other courses and tutorials will try to be the "ultimate" guide to every single piece of functionality Lightroom gives you. But I know your time is valuable, so I don't want you wasting your time on the stuff you're never going to use.
Through years of my own experience, I've boiled everything down to only the most important and useful parts - and that's what I want to share with you so you can benefit from my years of experimenting to figure everything out.
I've made it easy for you to quickly get the best out of Lightrooms Most Useful Features
Whilst cutting the clutter and dropping the parts you don't need...
If you're looking for a solution that weeds out all the stuff you don't need to worry about and gives you the keys to mastering the 20% of Lightroom that drives 80% (and more) of the benefits and results, then I truly believe you've found what you're looking for...
Introducing...
The 80/20 Guide To Lightroom
Brand New 2nd Edition
The 80/20 Guide To Lightroom has been designed with you in mind. It shows you how to get the most out of the parts of Lightroom that you're going to use the most, without overloading you with all the parts that are unnecessary 99% of the time. Because what's the point in trying to learn every single piece of functionality when you're hardly ever going to use most of it?
Here's how the course is broken down:
- The Library Module: I'm showing you how to use the library module in the most time efficient and practical way to organise and catalog your images.
- The Develop Module: In this chapter I'm giving you a rundown on how to use the most important features of the develop module to bring out the best in your landscape images, whether processing in Lightroom only, or as preparation to send to Photoshop.
- Real World Processing: You're going to see 3 real-world end to end processing examples using the Develop module to transform 3 different RAW files so that you can see how to use what you learned in chapter 2 on various types of landscape photos.

Here's a closer look at what's inside
Chapter 1: Organisation Mastery
In chapter 1, we're covering along with lots more:
- How to import & organise your photos and folders the right way (and get your head around all the confusing options)
- Discover the one thing that hardly anybody does when importing, but EVERYBODY should!
- My SIMPLE system for screening and filtering your “keepers” (hint: you don’t have to use ALL the confusing options just because they are available!)
- How and why you really should be using keywords and exif / metadata (hint: it’s not just for organising your catalog)
- How to export your finished works of art (and what most people get wrong)
- How to use Lightrooms facial recognition on your entire catalog so you can easily find and filter images based on who is in them!
Chapter 2: Develop Module Mastery
Chapter 2 gives you the rundown on all of this and more:
- How to do wonders with the basic Develop controls (plus some cool “tricks” you might not be using yet)
- How to get started using Lightrooms NEW MASKING TOOLS so you can get up and running with the basics, FAST. (Learn how to use each of the different mask types so you know instantly which ones to use and when)
- Master the ADVANCED MASKING FUNCTIONALITY and learn the one "mind trick" I use myself to understand the new LR terminology (because it's NOT intuitive if you're usually using layers and masks in Photoshop)
- How to add, subtract, and intersect adjustments within a mask for the ultimate control over your selective edits.
- Learn the single key-press that will totally change how you use the Sharpening tools
- Master the ALL NEW TONE CURVE to use Split Toning to make your photos look MORE realistic (most people only use it for special surreal effects!)
- Discover the intricacies of Lightrooms NEW COLOUR MIXER to fully dictate how every single colour in your image appears (if you want or need that level of control)
- Stay on the CUTTING EDGE of Adobe's latest update, the new LENS BLUR feature - it's new, and in "early access" mode, but it's still got some VERY useful applications if you know where and when to use it right.
- How to repair large parts of a photo with the clone and heal brush - and I’m gonna teach you when each one works best (because they have some very important differences)!
- Discover how to (and how NOT to) create EFFECTIVE HDR Images with Lightrooms Photomerge feature. Photomerge seems like a simple enough process (there's only a couple of options) but there's a right way and a not-right way to use it - we'll go into detail so you can get the best out of it when possible.
- Harness the FULL POWER of Lightrooms new AI Features that are the best way I've ever seen to literally DOUBLE the resolution of your images whilst INCREASING the image quality at the same time. (I know, it doesn't make sense, but it works!)
- Not only that, but LR's new Denoise options are a lifesaver when it comes to RESCUING noisy images - We'll cover exactly how to use it and when so you can make the absolute most of nearly any old noisy image!
- Plus MUCH more!
Chapter 3: Real World Processing Mastery
This is the real nitty-gritty stuff right here. And in this chapter You’re learning how to put together everything you learned in Chapter 2 and how to know which techniques are best to use on various different types of photograph.
We will be walking through some end-to-end processing walkthroughs on three real-world example photos so that you can find out why Lightroom’s tools are never a one-size-fits-all!
Each image required a subtle but importantly different approach, and you get to watch and fully understand each step along the way so that you can do the same on your own images and to give you the confidence that you’re using the best individual techniques for the job.
Chapter 4: Updates
The course was originally created using Lightroom Classic version 13, but updated to include new functionality up to Lightroom Classic version 14.4, including:
- Brand NEW: Landscape Element Masking promises to let you select individual elements within your photo (eg. mountain, water, grass etc) but it should be used carefully if you want good looking results. In this updated video, discover when and how to use it so you can avoid amateurish masking mistakes.
- AI Noise Reduction, RAW Details, and Super Resolution have moved. Learn how and when to use it now to prevent it from grinding your computer to a painful halt
- How To Recover From Lightroom Catalog Nightmares: if your Lightroom catalog suffers from missing files and folders, duplicates or triplicates of images and folders, or is just a disorganised mess and you want to resolve it - this has you covered
IMPORTANT: Here's what this course is NOT
The 80/20 Guide to Lightroom Mastery is NOT a comprehensive set of instructions for every single piece of functionality in Lightroom.
And it is NOT a simple “user manual” style set of tutorials that just tell you the names of all the sliders and where you can find them. (There is some of that in the course, but that’s not what it’s all about)
OK, so what IS this course?
Simply put, it is for photographers who want to use Lightroom to help them make great images - and save time doing it!
In my view, there are two core things that Lightroom is awesome at.
Organising. And Processing.
Over the course of these videos I’m going to show you how I personally use what Lightroom is best at to help me organise and develop my images.
Ok I admit... Organisation doesn’t really sound like a fun topic - but when I show you how to use Lightroom’s cataloging and organising abilities to the fullest, you’ll never want to go back to what you were doing before.
And when it comes to actually processing your images, you’ll see me working on real examples where I explain not only what to do and how to achieve certain results, but I also tell you the all-important “why’s”, so that you can understand the thought process that goes into choosing “this" technique over “that" technique etc.
This is not just a “move this slider up and down to increase or decrease the brightness” type of course.
You could pick that sort of stuff up just by reading the manual.
I’m showing you how and why I use Lightroom the way that I do - so that you can understand my methods and either lift the entire lot and use them as-is on your own images, or so that you understand them enough to adapt them to your own style and needs.
When you go through the videos, you won't find anything about how to create photo books with Lightroom, how to make slideshows, how to print photos, how to create web galleries etc…
Those are all things that Lightroom can do...
But I only want to show you the stuff you’re going to use ALL the time...
The stuff you really care about...
..creating beautiful photos.
So if this sounds like something you can get your teeth stuck into so you can really start to maximise the benefits of Lightroom’s very best functions and features to help you make even better photos, then the 80/20 Guide To Lightroom Mastery is perfect for you.
SPECIAL BONUS: DOWNLOAD MY CAMERA PROFILES
Adobe extended the functionality of Camera Profiles in a BIG way in a recent CC update
Of course, this course includes everything you NEED to know about what they are, how to use them, and even how to create your own!
BUT AS AN EXTRA BONUS - purchase the 80/20 Guide To Lightroom now and get Steves very own set of Profiles ready for you to download and use on your images.
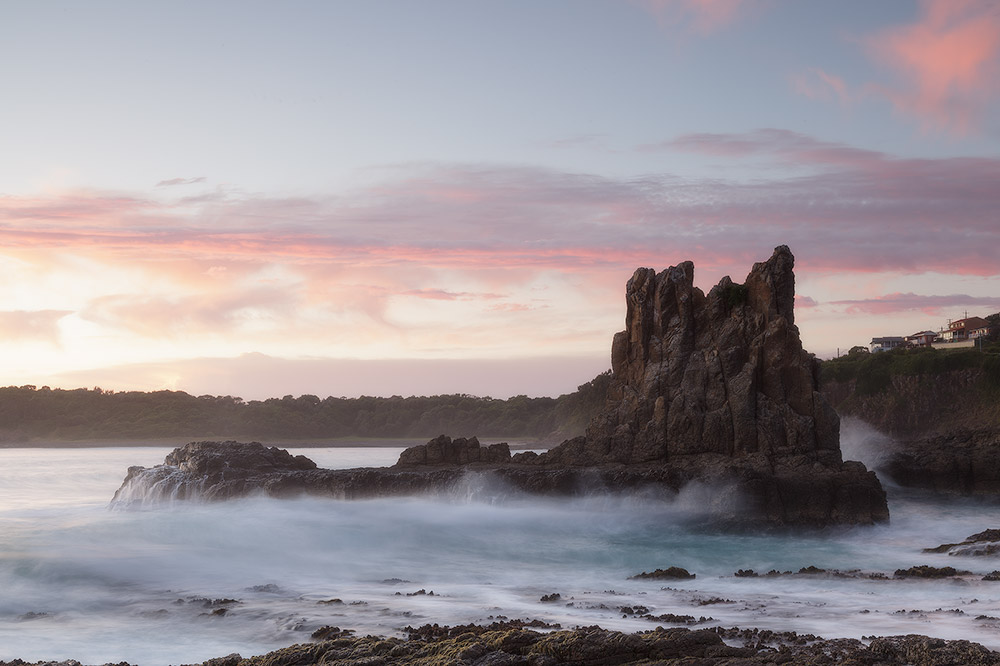
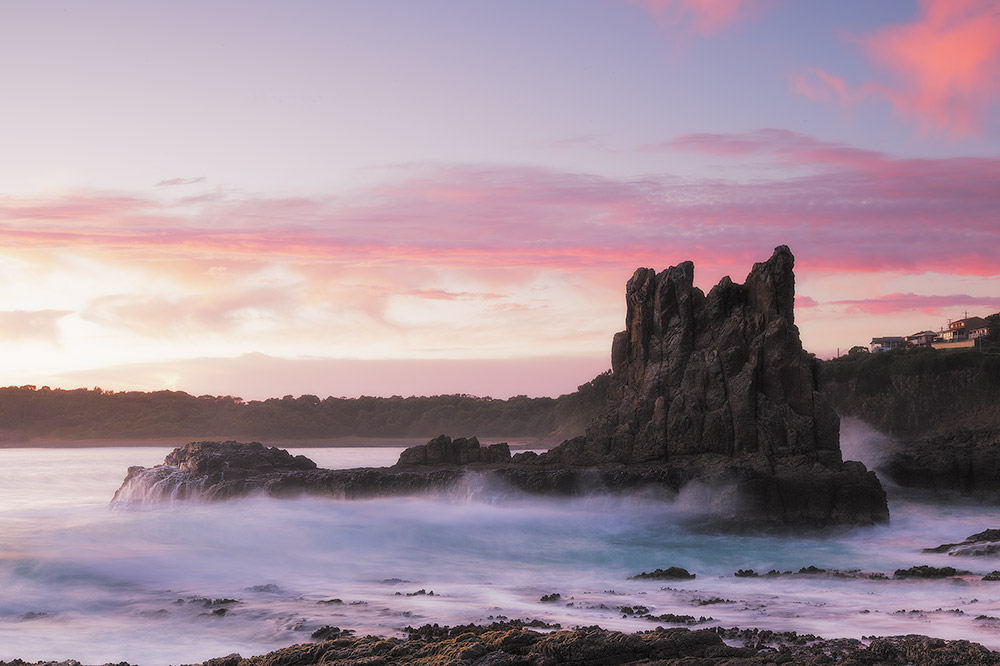
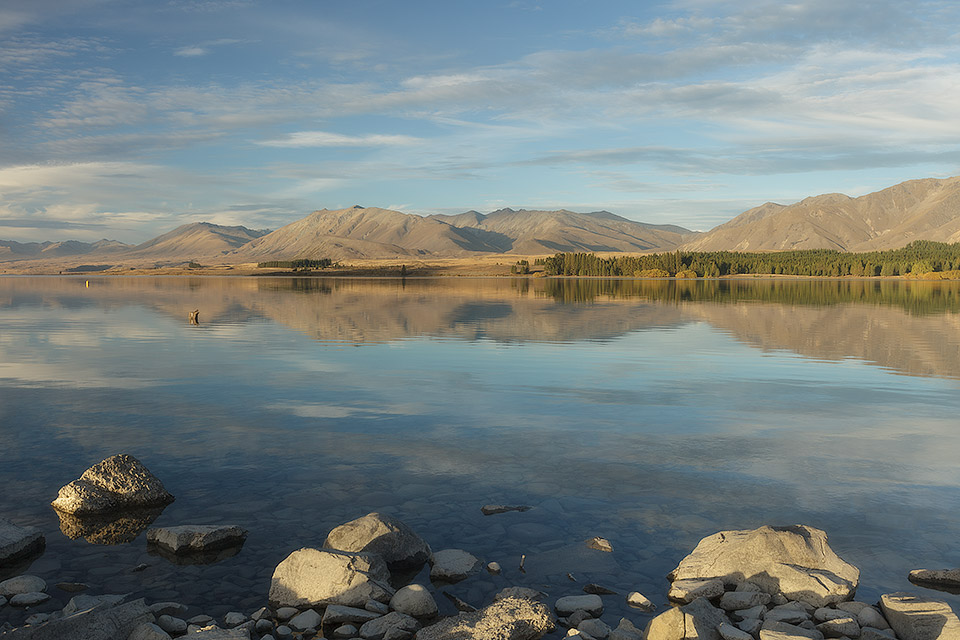
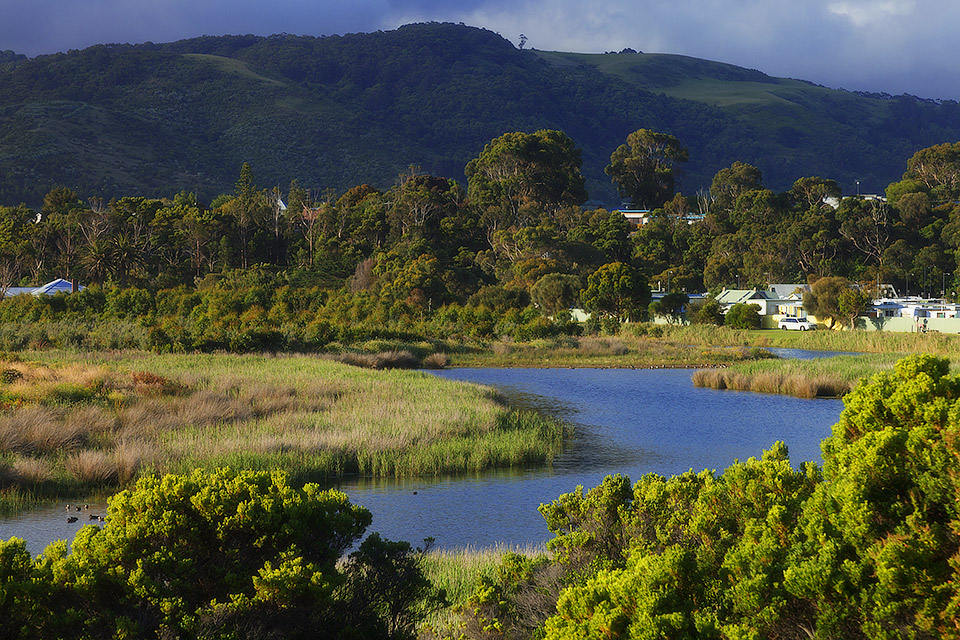
Take a look at these examples using just some the downloadable set of Profiles you're getting when you purchase today...
Cool Morning #1

Before
After
Vibrant Contrast #1

Before
After
PMC Landscape #1
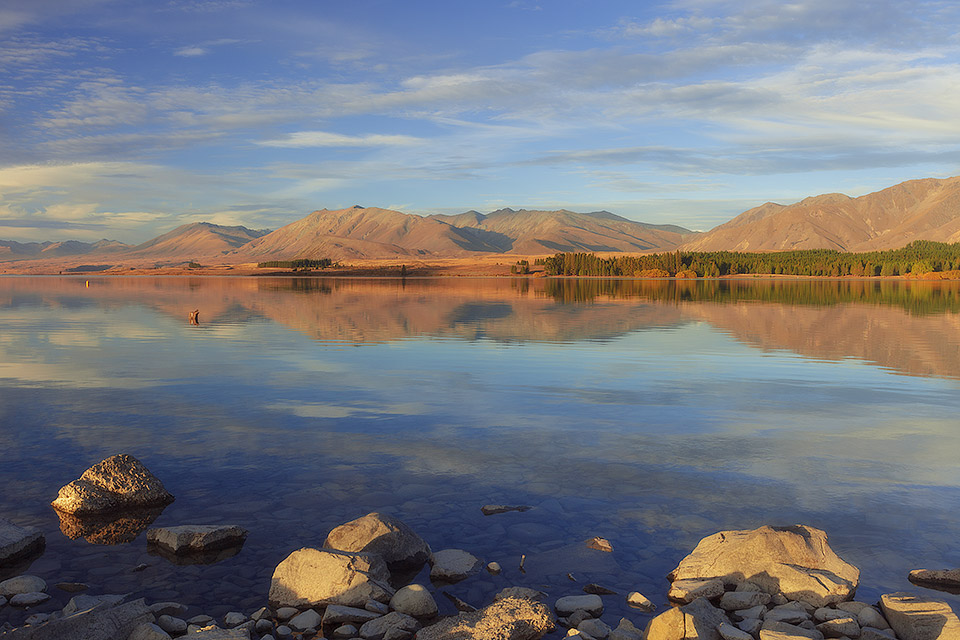
Before
After
PMC Landscape #1
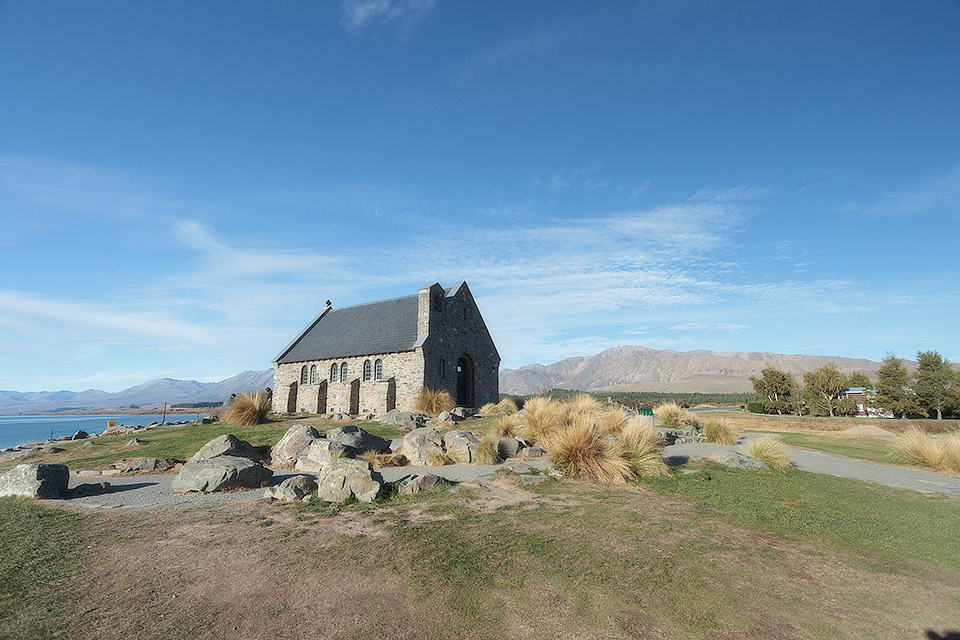
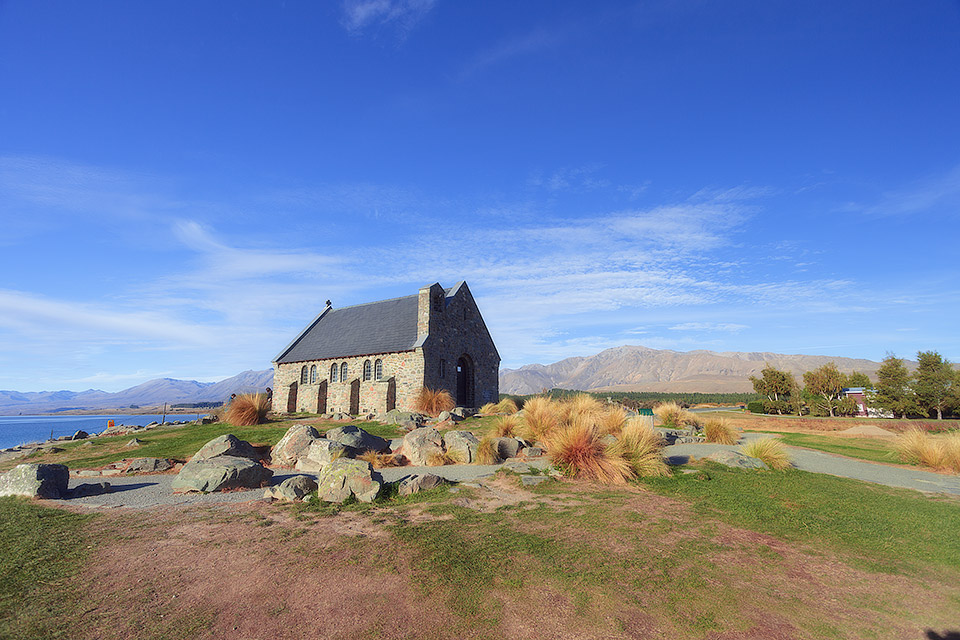
Before
After
Daylight Colour & Contrast
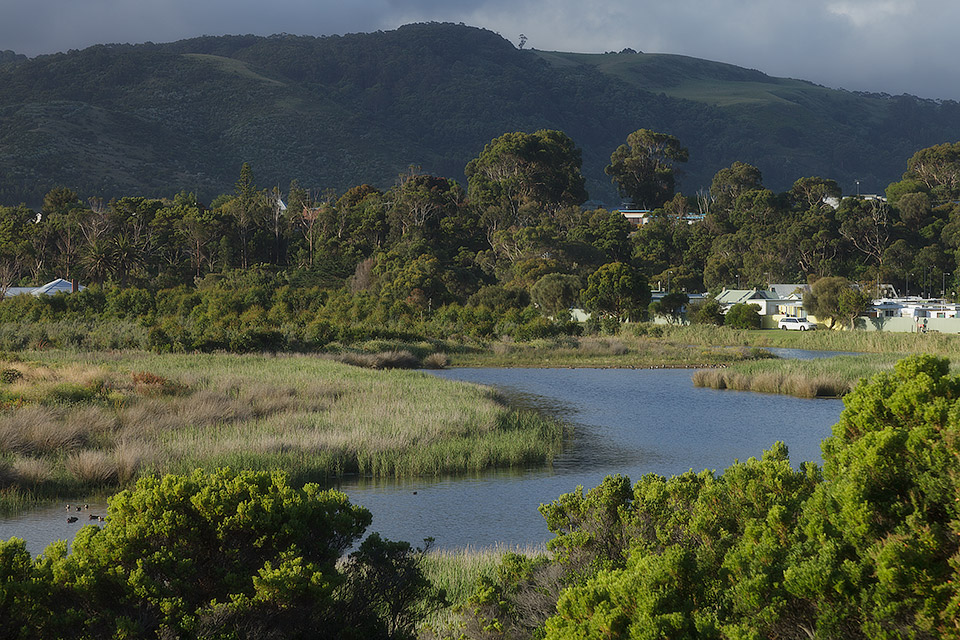
Before
After
Warm Morning #1
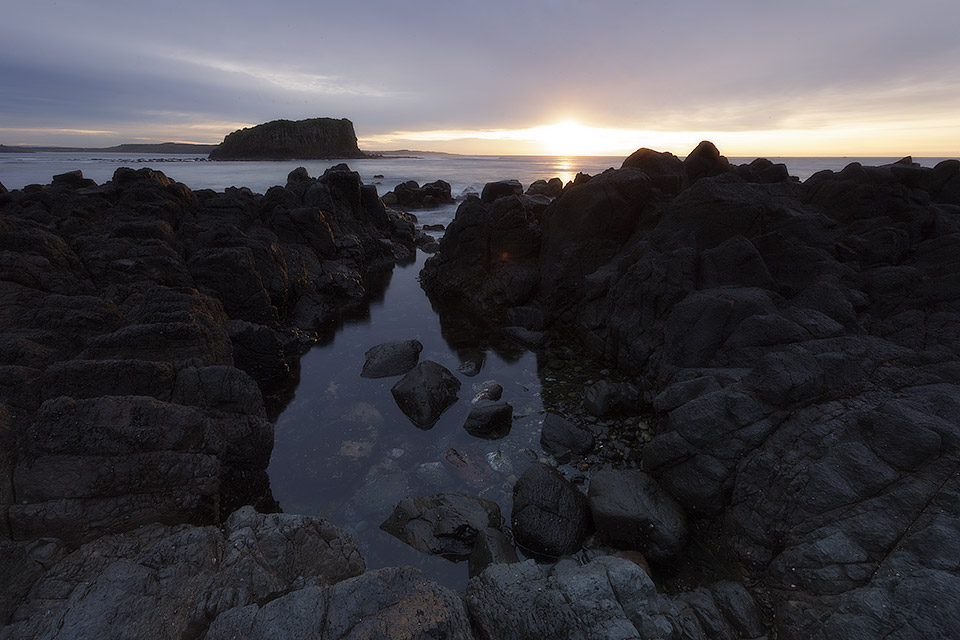
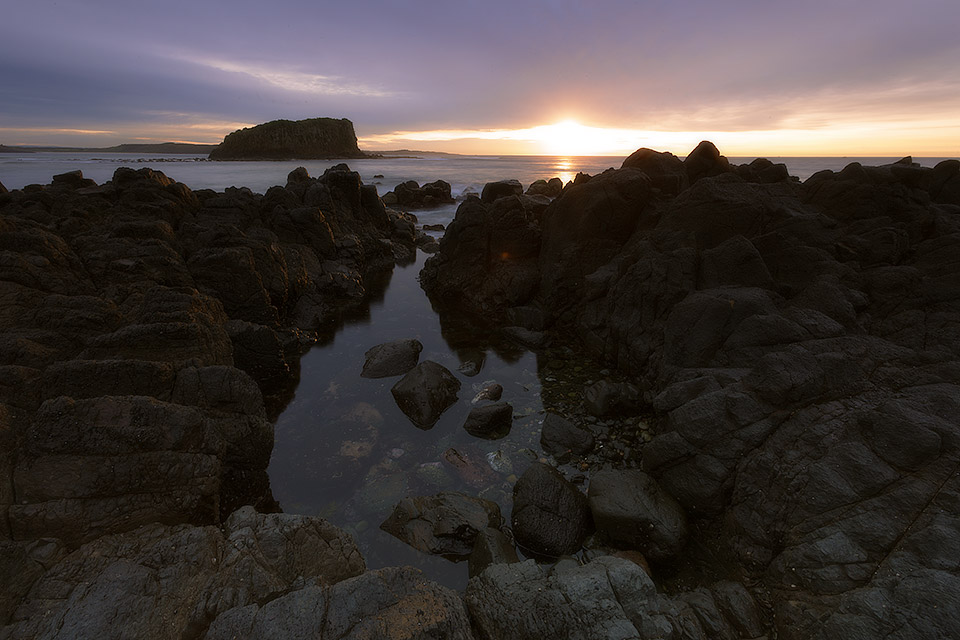
Before
After
SPECIAL SUBSCRIBER-ONLY OFFER
Take 60% Off
The regular price of...
$97
And snap up your copy for only:
$38.80
(Australian dollars)
- Click on the CONTINUE TO CART button below
- Fill in your payment details on the 100% secure order form that will open on the next page
- Click “Submit” to place your order
- Check your email inbox for your login information to access the course in the members area!

Love it, or keep it FREE
Listen, go ahead and take this training and put it to work for you and see if you can notice the improvement that will happen in your Photography. And if at any time in the next 60 days, you decide that it hasn’t worked for you, or you just don’t like it, or whatever, just send me an email and I’ll immediately give you a full refund with no questions asked.
Frequently Asked Questions
What version of Lightroom do I need?
Do I need to be a Lightroom expert already?
How do I access the videos?
What happens if I don’t like it?
More...