June 14, 2018

There is so much more with the Crop tool that you can do.

This week’s tutorial I will show you other features of the Crop tool that will certainly be beneficial when using Photoshop.

Video: Maximise your Crop Tool

Here are the steps mentioned in the Video:

(View the video for full details and explanations)

Basic Use of the Crop Tool

  1. Load an image in Photoshop.
  2. Click on the Crop Tool or press C on the keyboard to activate it.
  3. Press Return to see the Handles that we can grab onto.
  4. Move the edges of the photos and everything outside the frame will be cropped out.
  5. Press the Return key to complete the step.

Changing the Ratio Size

  • You can change the ratio size of the image by going to the ratio settings on top of the screen and then choose the appropriate size you would like the cropped image to be.
    Note: If you do not want this option to be enabled you can just set “Clear” under the Clear Aspect Ratio Values. It is good to know that using this option might not be the best option if you wish to print the image.

Exploring Crop Tool Guides

  • When the Crop Tool enabled is you will see a grid across the image. This is because this is the selected guide when cropping the image.
  • You can changed this also to Rule of Thirds, Diagonal, Triangle and etc.
  • One interesting option is the Golden Spiral, it is based on the Fibonacci sequence.
  • When you select this option you can toggle your keyboard to switch to different position by pressing Shift+O on your keyboard.

Straighten Tool

  • Click on the Straighten tool.
  • Draw a line across the horizon and on the other end of the line you will see an angle indicating how much the horizon needs to shift in order to make it straight.
  • This option is perfect if you have an image where the horizon is not straight.

Delete Crop Pixels

  • When this option is deselected the part of the cropped image that was not included will still be there when you move the image around.

Content-Aware

  • If this option is selected and you stretch the canvas of your image, it will fill the gap automatically with new pixels of the image.

Share your thoughts with us, have you used this techniques before?

Click here now to join Photo Mastery Club and enjoy several wonderful photography discussions!

Read More

June 6, 2018

In this Photoshop tutorial I will show you how to look for more dust spots on your images.

This technique will allow you to view much more dust spots that can easily be missed by the naked eye and how to get rid of it.  The steps are very easy  and effective

Video: Spot and Remove Dust Spots

We’ve jotted down the steps for you!

(View the video for full details and explanations)

Note:
You can increase the contrast on your image by:
A. Clicking on the Levels adjustment tool.
Boost the Contrast on the image using the slider.

B.Use the Curves Adjustment Layer by moving the curve depending on the image to increase the contrast, this way you will be able to detect the dust spots on your image.

  1. Use a High Pass Filter
  2. Go to Select-All-Edit-Copy Merge- Edit-Paste, this will gives us a pixel layer.
  3. Go to Filter-Other-High Pass
  4. Set the radius to a mid-range value, in this sample it was set to 25 then click on Okay.
  5. Add a Curves Adjustment Layer, make a high contrast S-curve you will see the dust spots showing.
  6. Create another Merged Layer, on this layer we can do peeling of the dust spots.
    Note: Make sure that the Sample all Layers are not checked and make sure that the correct layer is clicked when we apply the healing tool.
  7. Click on each of the dots, we won’t see what is happening because the High Pass Layer is on top of the laywer we are trying to fix.
  8. Hiding the 2 layers will allow you to see the before and after look of the image after this technique has been applied.

Share your photos with us!

Click here now to join Photo Mastery Club and come share your results with this tutorial with your fellow members!


Read More

June 1, 2018

A nice warm color on your photo helps a lot in making it look more natural and leaves one feeling calm just by looking at it.

Today’s video I am going to share to you how to add a nice glow on your Sunset and Sunrise images.

Video: Adding a Warm Glow on Your Images

Here are the steps for you to follow:

(View the video for full details and explanations)

  1. Load image in Photoshop
  2. Add a Solid Color Adjustment Layer
  3. Change the Color using the Color Picker Click Ok
  4. Change the Blend mode to Overlay
  5. Reduce the Opacity depending on the image I have set it to 15-30% range or lower.
    Note: Using a Solid Color Fill Layer allows you to be able to change the color very easily.
  6. Mask the effect on some areas of the images.
  7. Click on the Layer mask, select the brush tool with a black foreground color,
    then increase the brush size.
  8. Brush the effect on to the layer mask where you want the effect be applied.
    Note: You can take this onto the next level by using the Luminosity Mask.
  9. You can do the whole process by using an Action Set.
  10. Remove the Solid Color Layer.
  11. Click on the Actions Panel
  12. Select PPM Action 1
  13. Click on the Warm Highlight and run it.
  14. This will give you a new group which contains the solid color layer as well as the luminosity mask.
  15. Use a white brush to apply onto the sky. This will show the effect onto the sky.
  16. This effect will only be applied to the highlight of the image which will yield to a better and more natural result.

Discuss this blog post in the Photo Mastery Club forum!

Click here now to join Photo Mastery Club and come share your results with this tutorial with your fellow members!

Read More

June 1, 2018

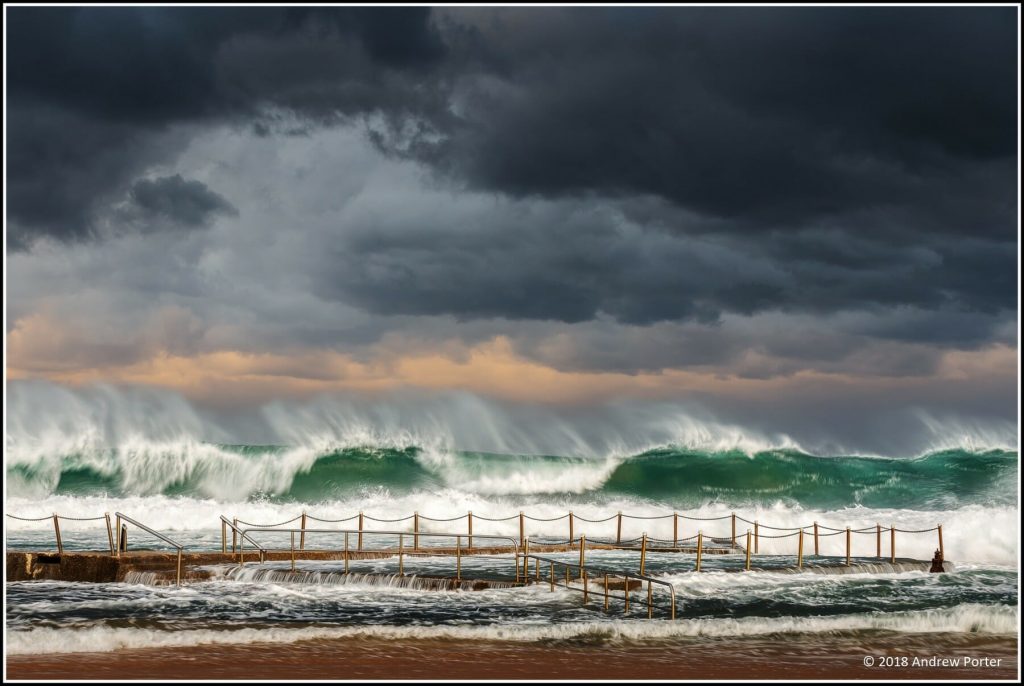
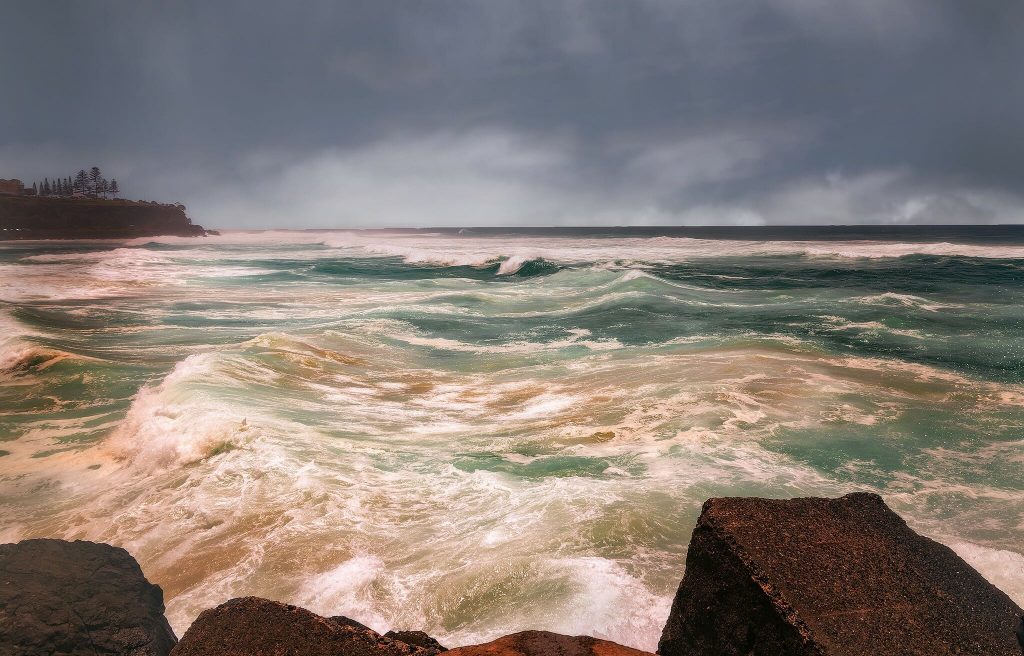
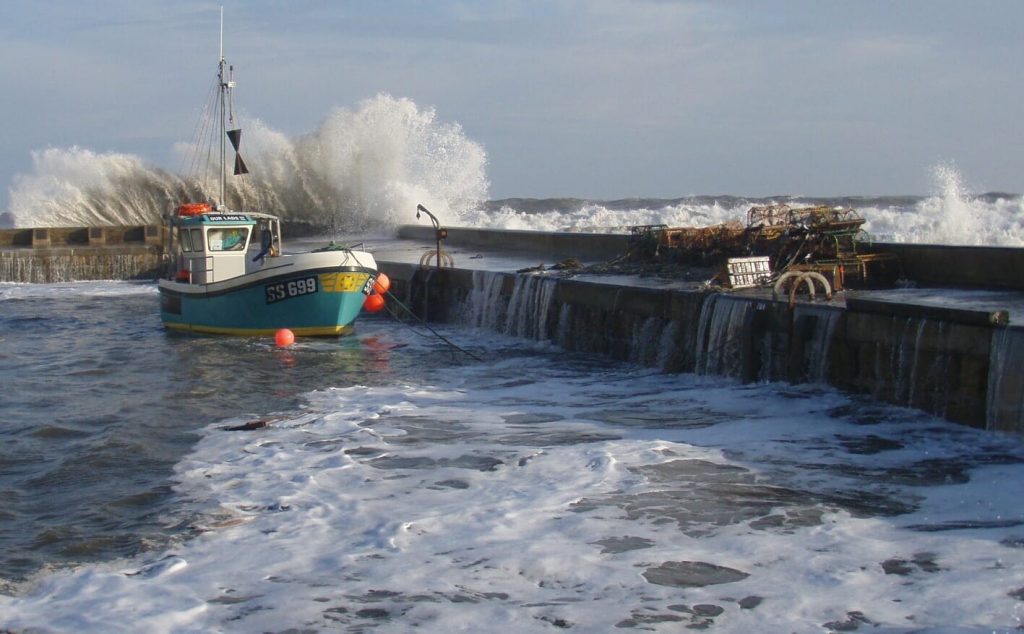
While most people stay away from the shoreline during a stormy day this presents a perfect opportunity for many photographers to capture such glorious seascape.

A big THANK You to our ever supportive members!


Above: Mona Vale – By Andrew Porter


Above: Coolie After the Storm – By Terry Robinson


Above By Susan Dawson


Read More

May 29, 2018

For landscape photographers who primarily shoot at sunrise and sunset, exposure bracketing and blending is a critical skill.

But there are some common mistakes that are easy to make in the blending process.

One of them is this:

Over blending exposures

Here’s what I mean.

Let’s say you’ve captured two exposures, one for the foreground and one for the sky.

You load them into separate layers in Photoshop and start blending the darker-exposed sky into the lighter-exposed foreground.

The sky is starting to look good, going from over-exposed to nice and evenly exposed.

But the changes are gradual and you missed the perfect point at which to STOP blending!

So you keep going and the sky gets darker and darker until BAM – the bright parts of the sky are darker than the bright parts of the foreground!

But you didn’t notice 🙁

Thing is, it’s easy to miss.

Sometimes a photo can play tricks on the eye. What looks brightest, actually isn’t.

Luckily there’s a simple technique in Photoshop you can use to know precisely the brightest part of any photo.

I reveal what that technique is on my upcoming webinar:

The Top 5 Embarrassing Exposure Blending Mistakes And How To Avoid Them To Create Jaw-Dropping Landscapes In Photoshop EVERY TIME

Plus as you might have guessed by the name, I also reveal 4 other critical mistakes that photographers make when blending exposures.

(I know first hand because I’ve made them all in the past!)

Click here to pick your most convenient time and register now.

See you there!

Steve

Read More