September 28, 2017

Here is a new Photoshop tutorial that will show you a quick way on how you can adjust the contrast on your photos.

This technique will be very useful in enhancing your photos most specially for beginners. It will teach you to look for PS tools more quickly allowing you to produce great images in no time.

Video: Improve contrast in your photos

Here’s a summary of these steps:

(View the video for full details and explanations)

  1. Click on the Adjustment Layer icon found at the bottom right side of Photo Shop then select Curves it should bring out the Curves Properties window. A new Curves layer will automatically be added on the layer panel.
  2. If you want to darken the image you just click the diagonal line on the histogram and pull it downwards. Pulling it upwards will make the image appear brighter. If you want to darken the shadows of a particular part of the image.
  3. Click on the bottom end of the histogram and drag from that point.
  4. You will immediately see a change on a specific part of the image only.
  5. You can add another control point on the curve and drag it upward making the top part of the curve more straight and it would look much more closer to the original image.
  6. Disabling the curve layer will give you an idea on the difference made on the original image.
  7. Use the S-Curve to increase a contrasting image.
  8. This can be done by adding one control point on the top half of the curve and another on the bottom half of the curve.
  9. Then pull the bottom control point downward to darken the shadows and pull the top half of the curve upwards to brighten the highlights.


Read More

September 1, 2017

Here’s a new video tutorial that will show you a quick way to swap a sky in a landscape image in Photoshop.

The exact technique and method you use to swap a sky will depend on the photo you’re working on. In this example, Photoshop’s Quick Selection tool does all the heavy lifting for us when it comes to actually cutting the old sky out.

Then using some simple layers and masking techniques, we are able to bring in the new sky and effectively blend it into the main shot.

As you’ll see in the video, it’s not just as simple as cutting and pasting the new sky into the shot. We have to balance the brightness of our sky and foreground too so that it actually looks realistic and natural.

Video: How to replace a sky in Photoshop

Here’s a summary of the steps:

(View the video for full details and explanations)

  1. Load your main image and your new sky into layers of the same Photoshop document
  2. Use your preferred selection method (in this example, the quick select tool) to make a selection that isolates the sky
  3. With the selection active, add a layer mask to the foreground layer to hide the bad sky (invert the layer mask after adding if necessary, depending on how you created your selection)
  4. Use the Select And Mask tool in Photoshop to refine the edges of your layer mask for all those fine details
  5. Use curves adjustment layers to brighten the sky and darken the foreground until the balance between the two looks natural
  6. Continue with the rest of your workflow from this point to process the image to completion (some examples and suggestions are shown in the video)
Read More

August 21, 2017

Today we’re talking about how to shoot light trail photos. It’s a quick read because the steps are really quite simple once you know them.

So let’s dig in!

What are light trails?

“Light trails” are what we call the appearance of lights streaking through an image, such as the lights from a moving car or the stars in the sky.

The effect happens when some kind of light source moves across your cameras field of view while the shutter is open.

It’s a really cool effect and fun to create too. Here are some tips to get you started.

How to capture light trails

What you’ll need: Your camera and your tripod. (Not too bad so far, right? 🙂 )

You’ll need to capture a long exposure in camera to create the streaking light trail effect, therefore a tripod is essential to eliminate any kind of camera shake.

So once your camera and tripod are set up in place, you are ready to take your first test shot.

Best exposure settings for light trail photos

There’s no single answer to the “best” exposure length to use because there are a few varying factors that come into play.

However, if you’re shooting an urban night scene (like the first image below) and capturing the lights from moving cars then a good place to start will be roughly:

  1. Aperture: f11-f16
  2. ISO: 100
  3. Shutter speed: 6-10 Seconds

(I recommend setting these in your cameras manual mode so you have full control over the exposure.)

Fire off a couple of test shots and adjust your exposure time from there depending on how bright the image comes out and whether you need to increase or decrease the length of the trails.

Having established these “starting point” camera settings, there are some rules of thumb you can follow to fine tune your shot.

Rules of thumb for capturing light trails:

The faster the light moves across your view, the shorter exposure you’ll need.

The slower the light moves across your view, the longer exposure you’ll need.

For example, the cars in this photo are travelling quite a distance through the frame relatively quickly. So the exposure time for this image was only 6 seconds.

The stars in this photo are moving so slowly across the frame (imperceptibly so to the naked eye) that it required an exposure time of 30 minutes to capture them streaking across the sky like this.

Important Tip

Another factor in how impressive your light trail photos will appear is the number of streaking lights in your scene.

I remember years ago when I first tried shooting the light trails from cars at night for the first time. I went to a “busy” intersection in my small home town of Felixstowe (UK) and set everything up.

Then I waited.

And waited.

Then a car approached, so I clicked the shutter and waited a few seconds. Then I reviewed my masterpiece on the cameras LCD screen.

Huge disappointment! I learned right then and there that a single car’s streaking tail lights across a boring old set of traffic lights didn’t make for an inspiring image! lol

Unfortunately for me that night the cars were few and far between. So whilst I technically got to experiment with the idea, the images were pretty boring.

Anyway, that was a long way of saying that the more lights (in this case, cars) in your scene, the cooler the final image will be.

But it can go the other way too.

If there are too many lights (cars) then your shot may become an overexposed mess!

In which case, simply shortening your exposure time will reduce the negative effect of too many cars.

In summary, a good light trail photo is a balancing act.

You’ll want to constantly experiment, adjusting your exposure time to dial in the perfect amount of “streaking” that appears in your image.

If the trails are a bit thin and lacklustre, increase the exposure time to capture more of them.

If the trails are turning into a big overexposed blob, shorten the exposure time to give them more definition.

Remember, it’s not about how fast the lights are moving. It’s about how fast they’re moving across your frame.

Next Steps

If you’ve never tried it before, the tips shared in this blog post will get you up and running photographing some awesome light trail images.

Or if you want to go next level, there’s a full guide on how to shoot star trails inside the members area of Photo Mastery Club. Click here to join now.

Or if you’ve got any images or tips for shooting light trails that you want to share with your fellow readers. Feel free to add them to the comments below!

Read More

August 16, 2017

Here are 13 sunrise photography tips to help you take stunning sunrise photos.

1: Scout your location before your shoot

You’ll be arriving in the dark, so it’s a great idea to know the location and plan your shot before you get there.

Whether it’s the day before, or longer, spend some time getting to know the location. Take some “test shots” on your phone to see what compositions work so you can easily refer to them on the day of the shoot.

The sun will be an important element during your shoot, so it’s also a good idea to know where exactly it will rise. The good news is you can research this using an app called the Photographers Ephemeris.


2: Arrive in plenty of time

If you’re getting up early enough to shoot a sunrise, then you might as well go all out and get up extra early to give yourself enough time to prepare when you turn up. Not only will you be more relaxed because you won’t have to rush around to find that great composition you planned last time, but if you’re lucky with the conditions then the glow from first light (half an hour before sunrise) can produce the most intense colours in the sky.


3: Know your camera inside out

Again, you’ll be shooting mostly in the dark, so being able to change your shutter speed, aperture, ISO, focal length, focus modes etc without looking is going to save you untold amounts of time and stress!


4: Shoot multiple exposures

Sunrise scenes are full of contrast with the bright sun creating the darkest shadows across the scene. Even as camera processors improve and are able to record wider and wider dynamic ranges in one shot, some scenes will ALWAYS be too much for any camera to capture in one. This means that you’ll either end up with over exposed highlights or under exposed shadows, both of which are not good if you want to produce the best possible sunrise photo.

So shoot multiple bracketed exposures to capture the entire dynamic range across as many exposures as you need. Then you’ll be able to combine them into one high dynamic range shot in Photoshop later.


5: Remember to choose a great composition

When the sky is afire with beautiful sunrise colours, it’s easy to forget that an amazing sunrise alone doesn’t make a great photo.

It still has to be a great photo! This means not only choosing a great composition, but making sure every other technical element (focus, exposure etc) is on point too.


6: Always look behind you

I like to give this tip often, no matter what time of day or landscape subject I’m talking about. But it’s especially important when photographing sunrises.

After you’ve got a few shots in the bag, take a moment to look behind you. It’s surprising what the sun can do to the sky on the opposite horizon to where it’s rising from.


7: Remember to be in the moment

This isn’t a technical tip, but it’s probably just as important as any of the others in this list.

It’s so easy to get lost in your camera, firing off shot after shot, move to another composition, fire off shot after shot, etc.

The result is that you end up experiencing the whole morning through your viewfinder and when you get home, you never really remember what it was like to SEE it.

So after you’ve taken a shot or two, step back from your camera and take a deep breath. Look around. Soak up the scene and really feel it.

Not only will it help you be present in the moment and actually enjoy the experience, but it will also help you re-create the scene in your post processing workflow. Because you’ll actually remember what it looked and felt like when you took the shot, giving you a great reference to process from.


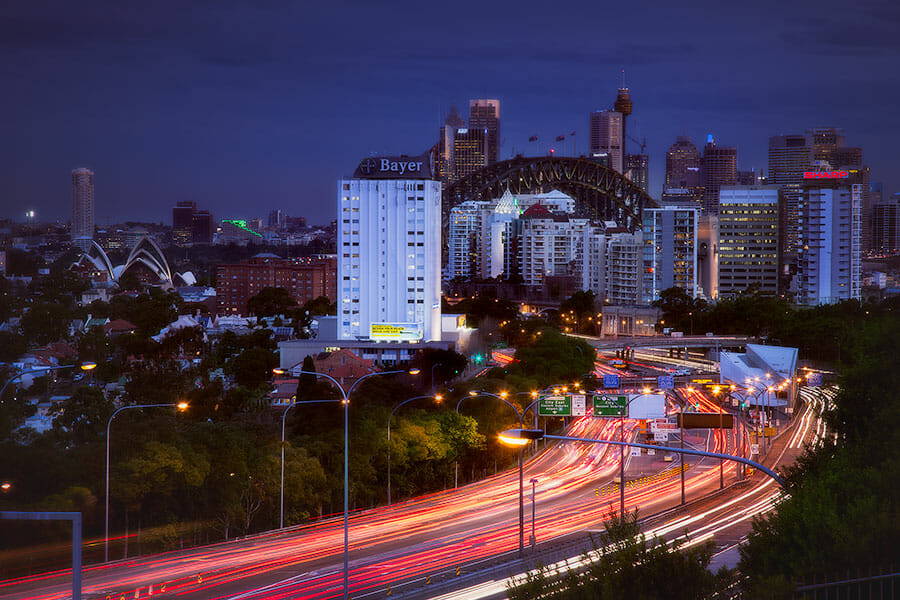
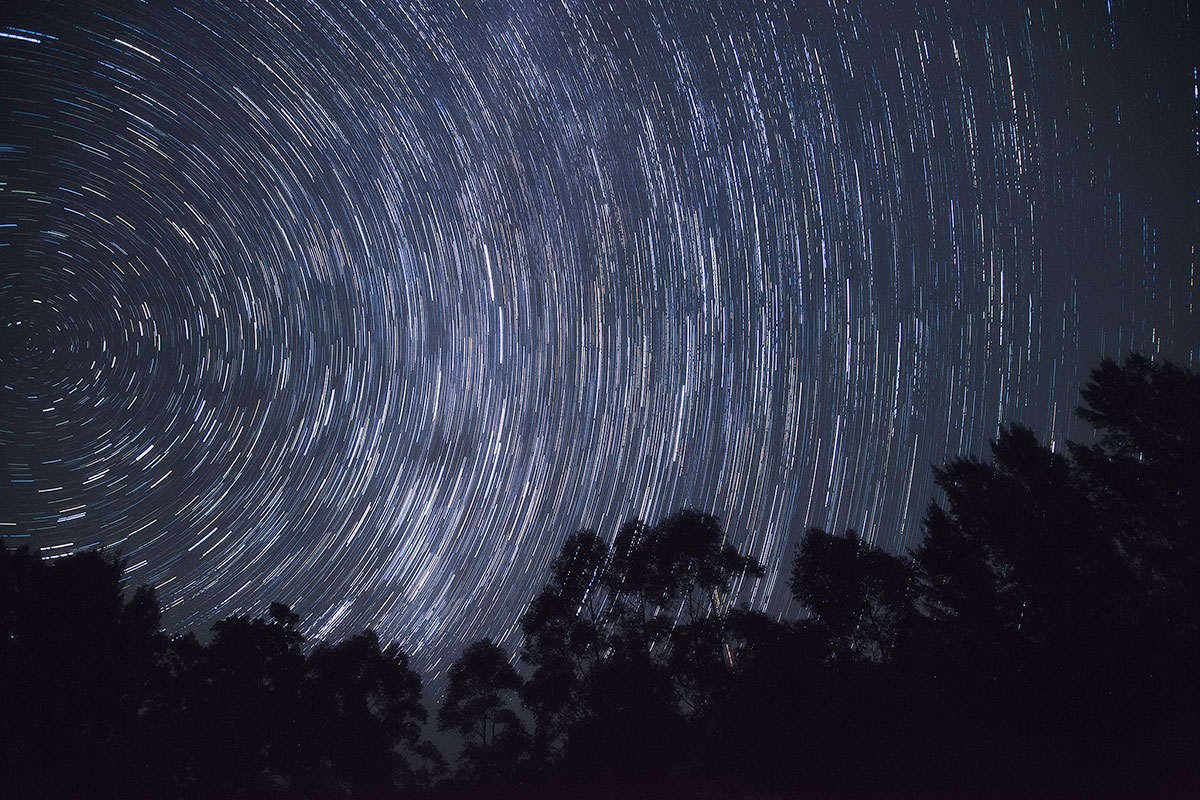
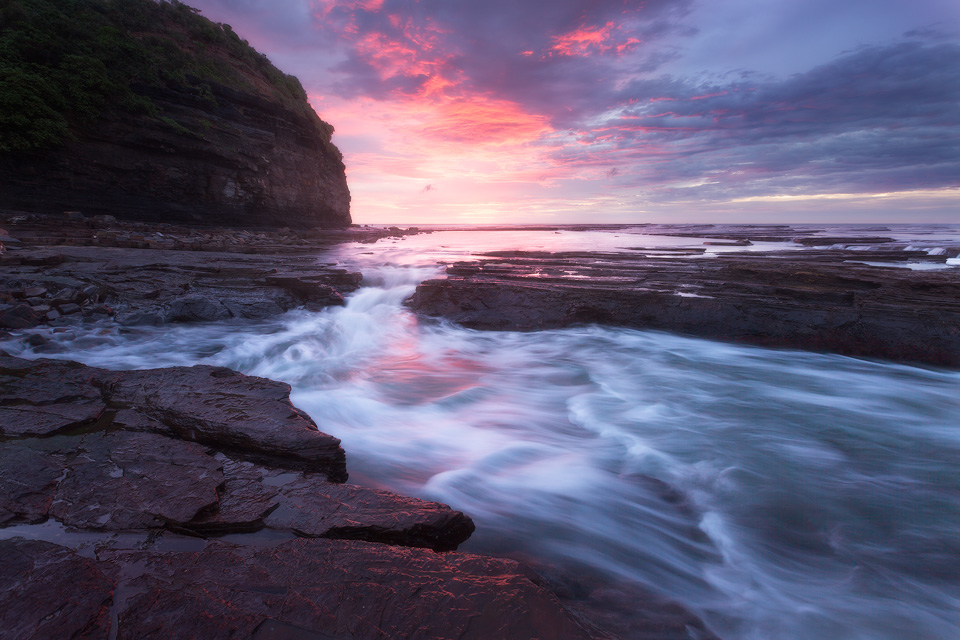
8: Shoot long exposures

Until the moment the sun peeks over the horizon and bathes the scene in it’s warm golden light, you’ll be photographing in some very low light conditions.

This is great for shooting long exposures, so make the most of it. It will add another dimension to your image, whether that’s capturing the movement of the clouds, waves if you’re at the ocean, or anything else that creates an interesting effect when photographed in motion.


9: Shoot in RAW

Sunrises are just too bright, colourful, and full of contrast to effectively capture in a JPEG.

RAW files contain so much more information about the scene that they are essential if you’re serious about capturing the best quality image.


10: Shoot for a starburst effect

One of my favourite things to do on a sunrise shoot is photograph directly into the sun just at the precise moment it peeks over the horizon, or from behind an object in the scene.

Not only does this create great, low light across the scene. But it also creates a really cool starburst effect. To get the sharpest, best looking burst effect, you need to shoot a relatively small aperture (say, f16) and only a tiny part of the sun should be visible. As a general rule when shooting starbursts, the smaller the light source (i.e. the sun), the sharper and less hazy the effect will appear.


11: Don’t let bad weather put you off

If I’d have turned around and gone home every time it was raining on the way to a sunrise shoot, I’d have missed half of my best shots.

No matter HOW miserable the weather is on the way, or how much your lovely warm bed is calling you back to it, you must resist!

When you arrive on location, you might find that the weather really is too bad to photograph in. But if it’s not, then it will probably be some of the most dramatic and potentially most colourful sunrise conditions you could hope for!


12: Don’t fall victim to the photographers panic

Have you ever found yourself running around like a headless chicken, trying to capture an AMAZING sunrise from as many different compositions as you can find?

Have you ever found yourself RUNNING, chest pumping, from the car to the spot you want to shoot from because the colours are already going crazy in the sky and you’re missing it?.

Or have you ever been half way through shooting a sunrise only to look down at your lens to notice its been in Manual focus the whole time when you thought it was in Auto?

The scope of the Photographers Panic is quite broad, so how can you combat it?

It all starts by following many of the points mentioned above. Give yourself plenty of time so you’re not rushed into making a mistake. Know your camera. Be in the moment and really connect with the scene. All of these will help you relax and when you’re relaxed, you’ll capture a great photo.


13: Be prepared to go back and do it all again another day

With all of the above said, sometimes, things just don’t work out. Maybe the weather was a write-off, or you didn’t nail that composition you wanted. Or maybe all your shots were out of focus.

Whatever the case, if you go into every sunrise shoot relaxed in the knowledge that you may have to come back again to get the BEST possible shot, then it relieves so much pressure. And it’s much easier on your photography mojo to fail when you’re relaxed about it than when you fail under the pressure you’ve put on yourself.

Read More